How to Train Like Aaron Taylor-Johnson from Kraven the Hunter
Arron Taylor-Johnson’s acting career has been an interesting one to say the least, with his first claim to fame starring as a awkwardly nerdy superhero wannabe in Kickass, to now taking on the role as one of Marvel’s most jacked and formidable anti-hero Kraven the Hunter. It’s a well-known fact that anyone cast as a superhero in one of Marvel’s films will need to go through rigorous training and follow a strict workout plan to achieve the physique portrayed by each character. This has also set up Aaron for his next role and perhaps one of the most iconic characters he will play yet, James Bond. With Daniel Craig setting a new bar and changing the image of MI5’s deadliest asset from suave boozer to ripped killing machine, Aaron will continue this updated masculine aesthetic, while undoubtedly adding his own touch of class at the same time.
But how has Aaron achieved this physique? Well, we’ve got an insight into his fitness schedule, including some great calisthenic workouts which has helped him not only get lean, but also build muscle, and it all starts with foundational building. What’s amazing about Aaron’s physical form is that it was built over the course of his career spanning years, starting from Kickass, Godzilla and now Kraven the Hunter and James Bond. It was some quick fix, Hollywood secret that would be unattainable by the average person. It’s the culmination of years of dedication and hard work, amounting to something that is natural and achievable by anyone with the dedication and willpower…which is encouraging to say the least.
The Workout
There are few characters who encapsulate the masculine form as much as Kraven the Hunter or James Bond, so this was the goal for Aaron. The classic v-taper, broad chest and shoulders and defined abs…all the attributes which achieve that comic book hero aesthetic, so this would be the cornerstone of his workout, focusing on upper body and core. Using a mix of fixed weights, free weights and calisthenics, Aaron has built every muscle group evenly, resulting in a form that looks natural, so let’s check out some of the calisthenic workouts that helped him get into character!
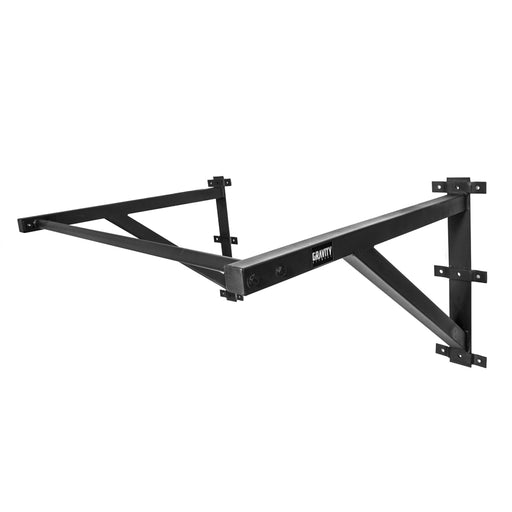
Dead Hang Pull-ups

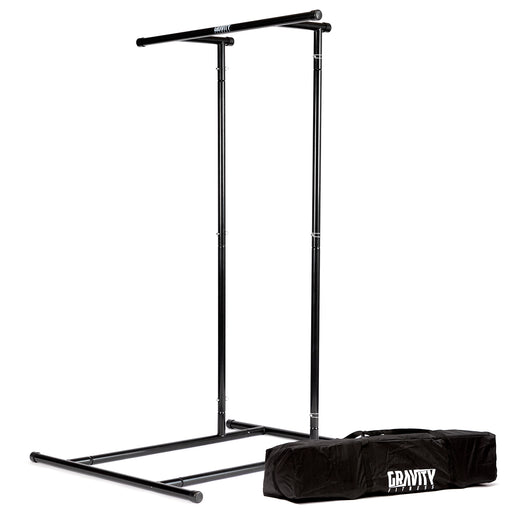
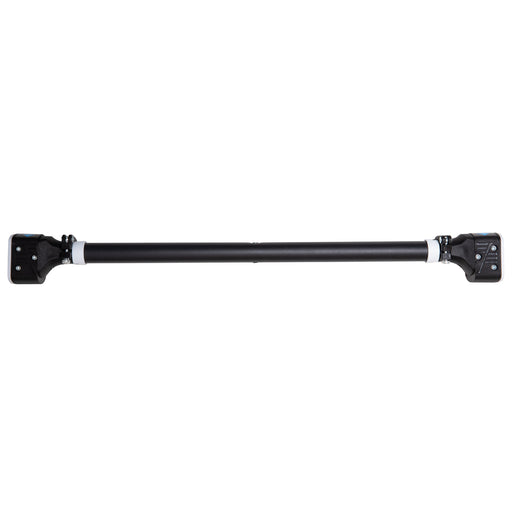
Dead Hang Pull-ups are a variation of traditional pull-ups that involve starting the movement from a dead hang position. A dead hang is when you are hanging from a pull-up bar with your arms fully extended, your body relaxed, and your feet off the ground. The goal is to engage your upper body muscles to perform a pull-up.
How to Perform Dead Hang Pull-ups:
- Grip the Bar: Reach up and grab the pull-up bar with both hands, either with an overhand grip (palms facing away from you) or underhand grip (palms facing toward you), depending on the type of pull-up you are doing.
- Dead Hang Position: Let your body hang freely from the bar, with your arms fully extended and your feet off the ground. Engage your shoulders slightly by pulling them away from your ears.
- Pull Up: From the hanging position, pull your chin above the bar using your arms, shoulders, and back muscles. Focus on using your lats (the large muscles in your back) to initiate the movement.
- Lower Slowly: After reaching the top of the pull-up, lower your body back down under control to the starting dead hang position.
Benefits of Dead Hang Pull-ups:
- Improved Grip Strength: Since you start in a hanging position, this variation is excellent for building grip strength.
- Upper Body Strength: Dead hang pull-ups work your back, biceps, shoulders, and core.
- Core Activation: Hanging from the bar requires core stability to prevent your body from swinging.
- Muscle Activation: The movement engages the shoulders and upper back in a controlled manner.
Progressions for Dead Hang Pull-ups:
- If you are unable to perform a full pull-up, you can start with dead hangs by themselves (just holding the bar for as long as possible) to build grip strength and endurance.
- Once you can hang for longer durations, you can move on to performing the full pull-up.
The Ski Sit
A Ski Sit is a type of body weight exercise that primarily targets your lower body, particularly your quadriceps, glutes, and calves. It is like a wall sit but with a slight variation in the positioning of your legs and feet. This exercise is great for building endurance in the lower body muscles and improving overall leg strength.
How to Perform a Ski Sit:
- Start Position:
- Stand with your feet shoulder-width apart and your back against a wall.
- Slide down the wall as if you are sitting in an invisible chair, bending your knees to a 90-degree angle.
- Your knees should be directly above your ankles (not past your toes) to ensure proper form.
- Ski Position:
- Once you're in a sitting position, move your feet slightly wider than hip-width apart, and angle your toes outward, like how you would position your feet for skiing (hence the name "ski sit").
- Your back should be pressed against the wall, with your arms resting in front of you for balance or held in a ski-like position for an added challenge (arms extended forward or bent in front like you’re holding ski poles).
- Hold the Position:
- Hold this position for a set duration (usually 30 seconds to a minute) or until you start to feel significant muscle fatigue in your legs and core.
- Return to Standing:
- To finish, slowly slide back up to a standing position, ensuring you maintain control as you rise.
Benefits of Ski Sit:
- Strengthens Lower Body: The ski sit focuses on your quadriceps, glutes, hamstrings, and calves, helping to improve lower body strength and endurance.
- Improves Endurance: By holding the position for extended periods, you increase muscle endurance in the legs, which is beneficial for activities like skiing, running, and cycling.
- Core Activation: While holding the position, your core muscles (abs and lower back) also get activated to maintain balance and posture.
- Leg Stability: It enhances stability and joint mobility, particularly in the knees and hips, due to the low-impact, isometric hold.
Tips for Proper Form:
- Keep your back flat against the wall—avoid arching your lower back.
- Don't let your knees extend past your toes—ensure your knees remain in line with your ankles.
- Keep your chest up and shoulders back to maintain good posture throughout the hold.
Goblet Squats

Goblet squats are a great exercise for strengthening your lower body, particularly the quads, glutes, and core. When performed with a sandbag or kettlebell, they offer an excellent way to challenge your muscles by adding weight while still maintaining a simple, controlled movement pattern. Here's how to perform goblet squats with both a sandbag and a kettlebell:
Goblet Squat with a Kettlebell:
- Start Position:
- Stand with your feet shoulder-width apart, with your toes slightly pointed outward.
- Hold a kettlebell by the handles, keeping it close to your chest. Your elbows should point downward, and the kettlebell should rest against your chest with your hands gripping the handles.
- Keep your shoulders relaxed and back, chest up, and core engaged.
- Squat Down:
- Begin the movement by pushing your hips back as if you're sitting down into a chair.
- Bend your knees while keeping your back straight and your chest up. Lower yourself as deeply as your mobility allows, aiming for your thighs to be parallel to the ground (or lower) if possible.
- Ensure your knees track over your toes, and avoid letting them cave inward.
- Keep the kettlebell close to your body and maintain a firm grip.
- Return to Standing:
- Push through your heels and engage your glutes and quads to rise back up to a standing position.
- As you stand, keep your core tight and make sure to extend your hips fully at the top of the movement.
- Repeat:
- Perform the desired number of reps, ensuring proper form throughout each squat.
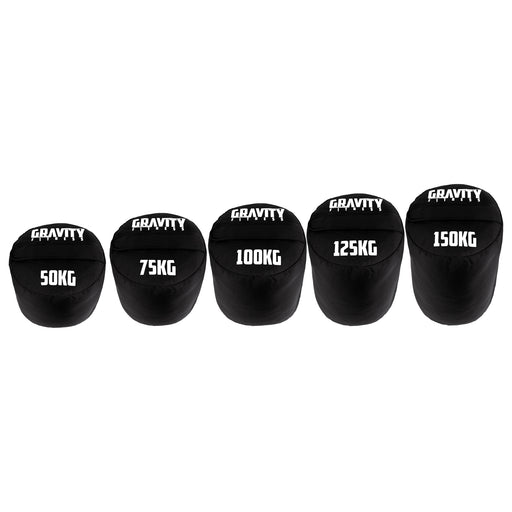
Goblet Squat with a Sandbag:
- Start Position:
- Stand with your feet shoulder-width apart and place the sandbag on the front of your body, holding it by the handles or straps.
- Grip the sandbag firmly with both hands, keeping your elbows pointed down and close to your body, while the sandbag rests against your chest.
- Engage your core, stand tall, and keep your chest up.
- Squat Down:
- Begin the squat by pushing your hips back and bending your knees.
- Keep your back straight, chest up, and lower your body toward the floor, as if sitting down into a chair.
- Aim to get your thighs parallel to the ground, or lower, depending on your mobility.
- Keep the sandbag tight to your chest as you descend, ensuring that your knees track over your toes.
- Return to Standing:
- Drive through your heels to stand back up, engaging your glutes and quads to extend your legs.
- At the top, make sure to fully extend your hips and stand tall without over-arching your back.
- Repeat:
- Perform the desired reps with controlled movements, maintaining good form.
Tips for Both Variations:
- Core Engagement: Always engage your core throughout the movement to protect your lower back and maintain balance.
- Knee Tracking: Make sure your knees don't collapse inward during the squat; they should track over your toes.
- Depth of Squat: Aim to squat to a depth where your thighs are parallel to the floor or lower, but never sacrifice form for depth. Only squat as low as you can while maintaining good posture.
- Foot Placement: Keep your feet flat on the ground and press your weight through your heels, not the toes.
Why Use a Sandbag or Kettlebell for Goblet Squats?
- Improved Core Activation: Both the sandbag and kettlebell force your core to work harder to maintain balance and stability.
- Increased Intensity: Adding weight to the goblet squat increases the challenge, helping to build muscle and strength.
- Enhanced Posture: These variations help reinforce good posture as you focus on keeping your chest upright and back straight.
Using either a sandbag or kettlebell in goblet squats is an excellent way to add variety and resistance to your lower body training routine.


